Getting set up
Most beginner courses will not ask you to deal with these complicated installation steps before starting to code since they can be frustrating and you’re probably eager to just start learning how to code.
We have decided to do things the other way round and get you set up in a professional coding environment from day 1. But you shouldn’t feel you need to fully understand what all the steps are for yet. Your only goal for now is to get things working on your computer and see the output described at the end of this page.
Since every computer is different and your computer may not behave as described in these instructions, be prepared to use the internet and AI to troubleshoot (also scroll the bottom of this page get some common solutions to common issues). If you are using AI, use the section headings to ask for guidance, e.g. “How do I create a GitHub account?”, “How do I install Python and VSCode?”.
Create a GitHub account (optional)
If you don’t already have a GitHub account, follow these steps:
1) Go to: 👉 https://github.com
2) click on the [Sign Up] button (usually bang in the middle of the page or in the top right)
3) Create your account:
- Choose a username
- Enter your email
- Create a strong password
- GitHub might ask to verify your email — check your inbox and click the link.
Create a new repository on GitHub
📖 A repository (or “repo” for short) is a folder on GitHub that contains all the files for a project (like .py files, images, documentation, etc.) It also keeps track of all the changes made to those files over time. You can think of it as a Google Drive folder for code where you can track changes in meaningful and useful ways.
4) Once logged into GitHub, click the [+] icon in the top right corner and select [New repository]

5) Create your repository:
- Repository name: e.g.
personal-flashcards-app - Description: e.g. “A personal flashcards app to learn useful facts and different languages”
- Check [Public] (so you can share your progress; or if you prefer not to, “Private”)
- You can leave all the options as their default values

- Click [Create repository]

- For now, ignore the setup instructions on the next page, but keep it open or note the url. You will return to it later.

Install Python and VS Code
6) Install Python
- Go to: 👉 https://www.python.org/downloads and download the latest stable version of Python.
- On Windows: Make sure you check the box that says [Add Python to PATH] before clicking [Install Now].
7) Install VS Code
- Go to: 👉 https://code.visualstudio.com
- Download and install VS Code on your computer.
8) Open VS Code
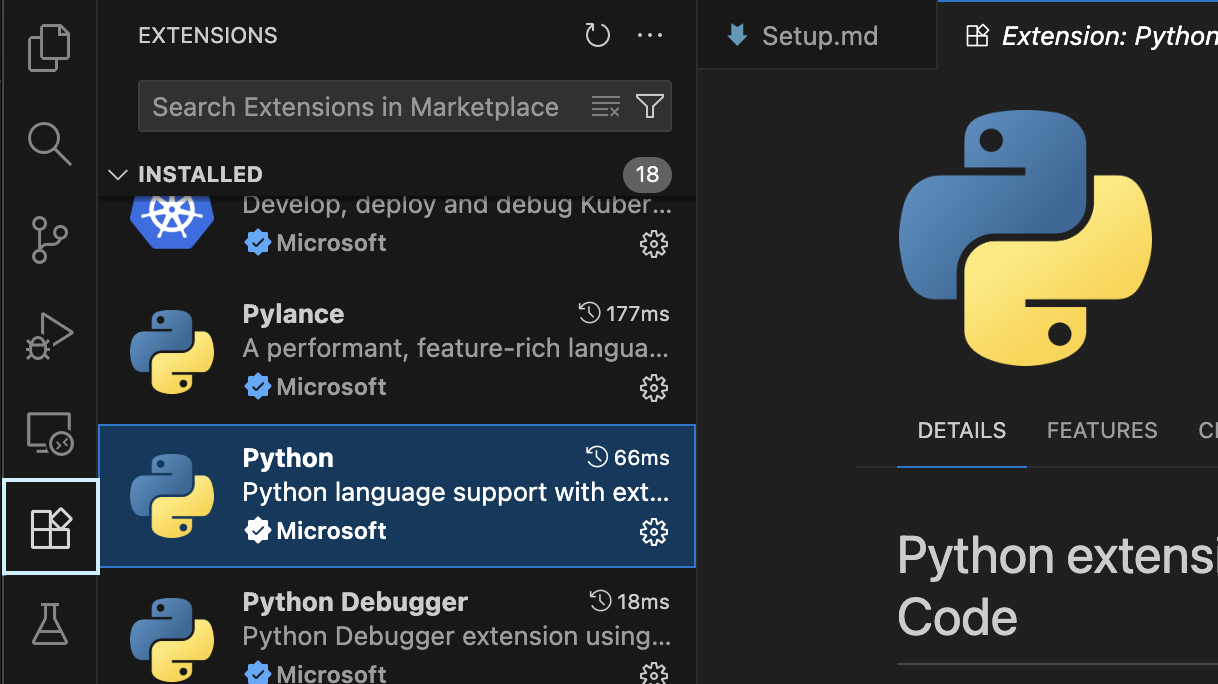
9) Install the Python extension when prompted or click the [Extensions] icon on the left sidebar (it looks like four squares with one separated or building blocks) and search for “Python”
Clone your repository and set up your workspace
📖 To clone a repository is to download it from GitHub to your computer (using Git or VS Code). This gives you a folder on your computer with the project files from GitHub so you can work on them offline and then sync the changes back to GitHub later.
You will use VS Code to clone and open the project.
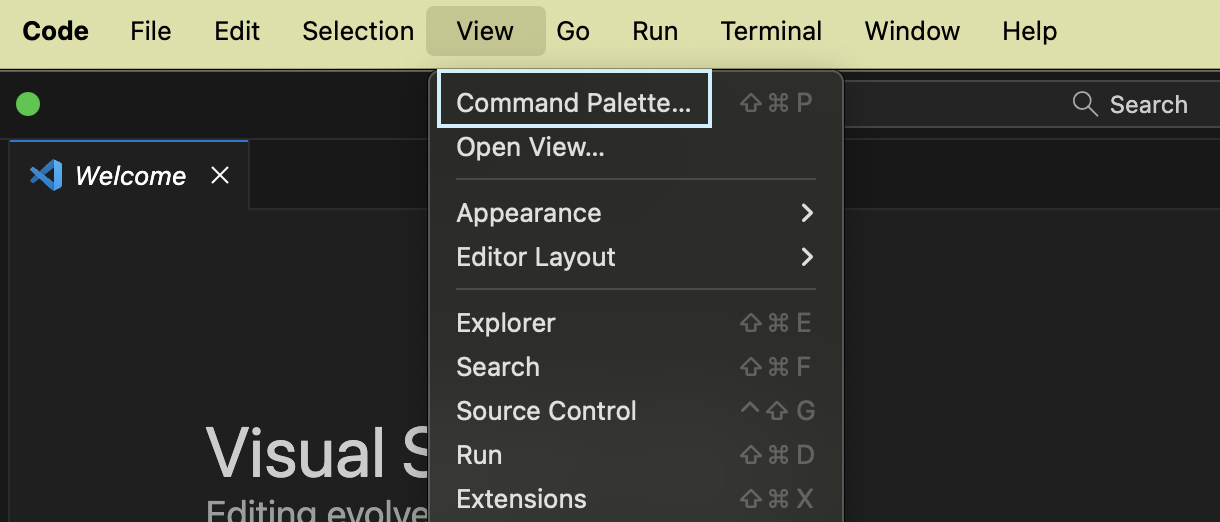
10) In VS Code, go to [View] -> [Command Palette]
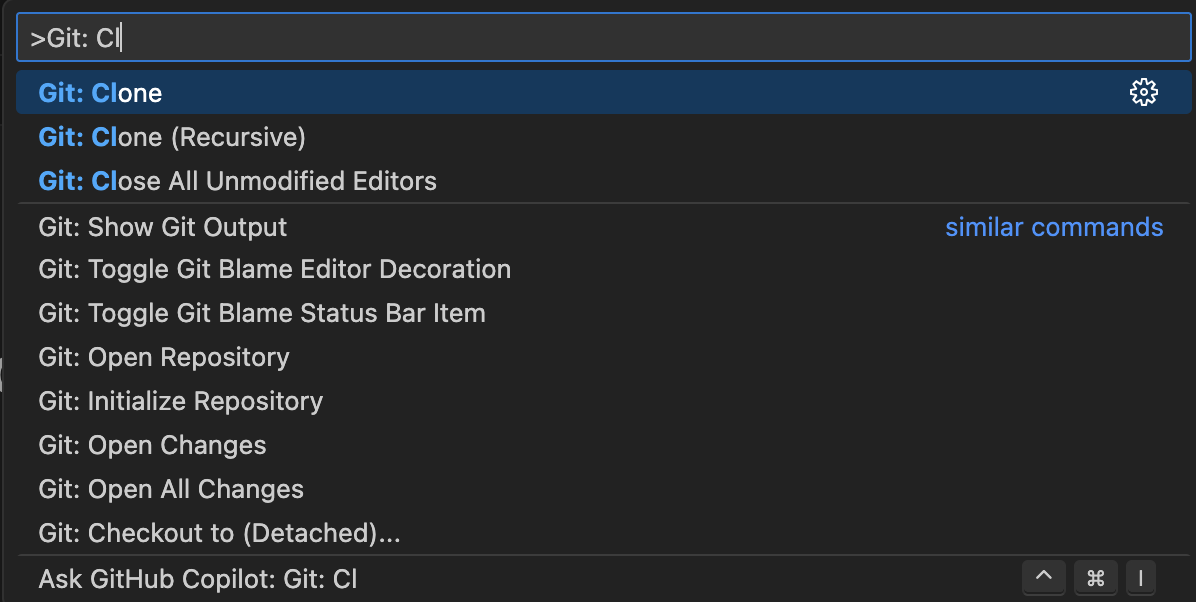
11) Type and select: Git: Clone
12) Copy your repository URL from GitHub:
- Go back to the GitHub repository you created in step 5

- Copy and paste the HTTPS URL (e.g.
https://github.com/your-username/personal-teaching-app.git) into the VS Code [Clone from URL] box

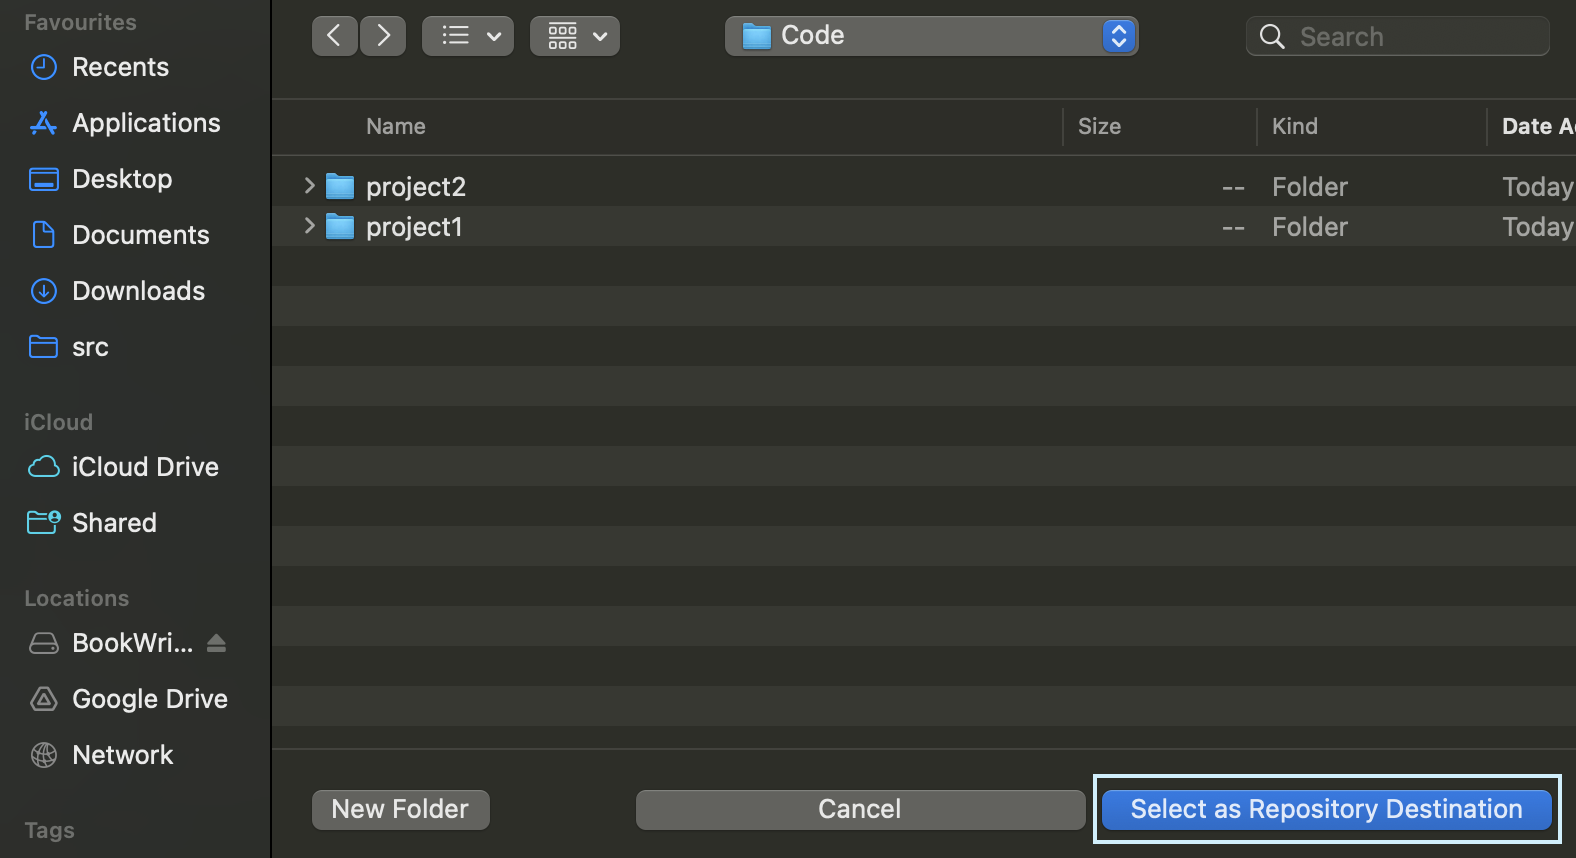
13) When it asks where to save, choose the parent folder you would like to save it in on your local file system, e.g. Documents, Desktop (or you might like to create a new folder somewhere for your coding projects). Confirm with the [Select as Repository Destination] button.
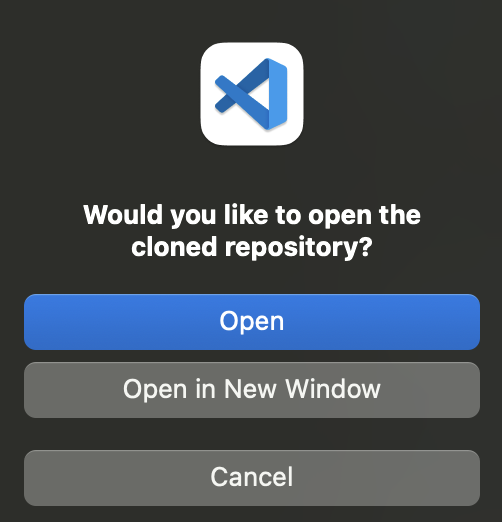
14) When it finishes downloading, click [Open in new window]. Now you have a local copy of the project (i.e. it is on your computer and not just online), and the folder is open in VS Code.
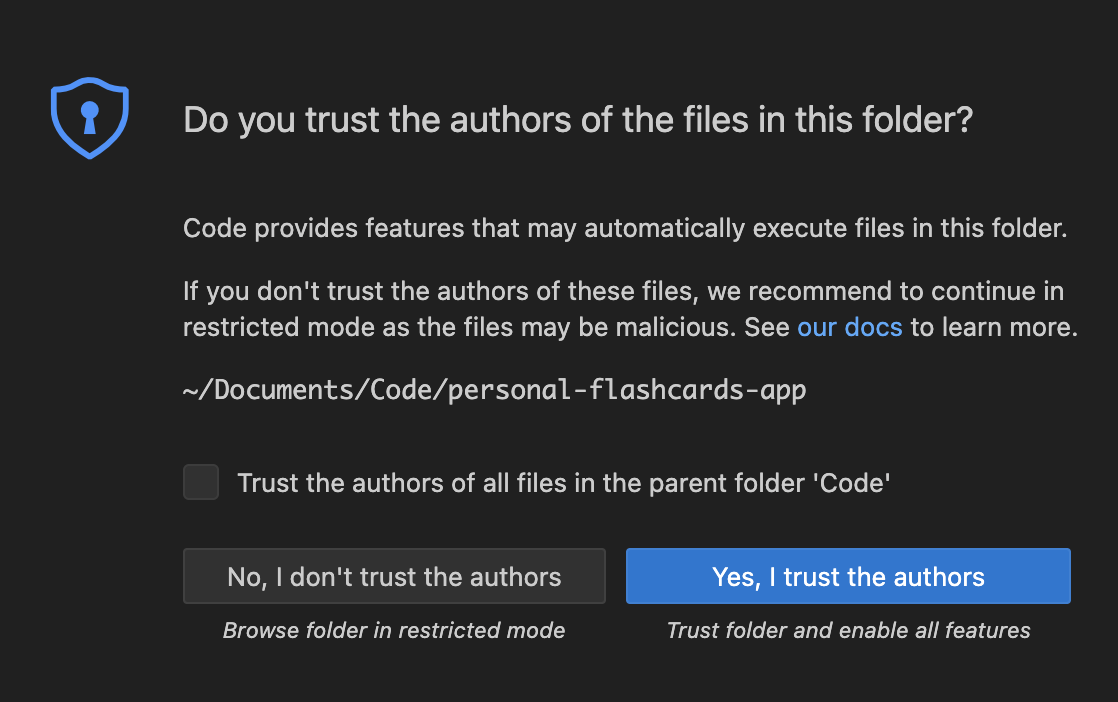
If you are asked, click [Allow] to give VS Code permission to access your local folder and [Yes, I trust the authors] to allow VS Code to run the code in the folder.

Create your first Python file
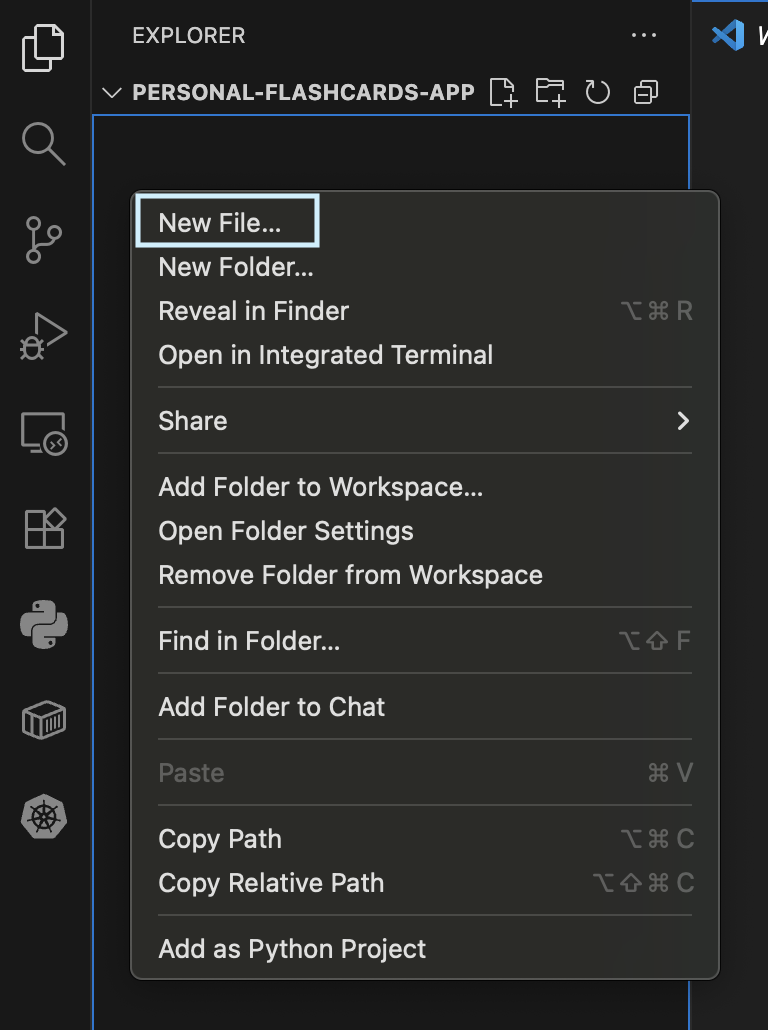
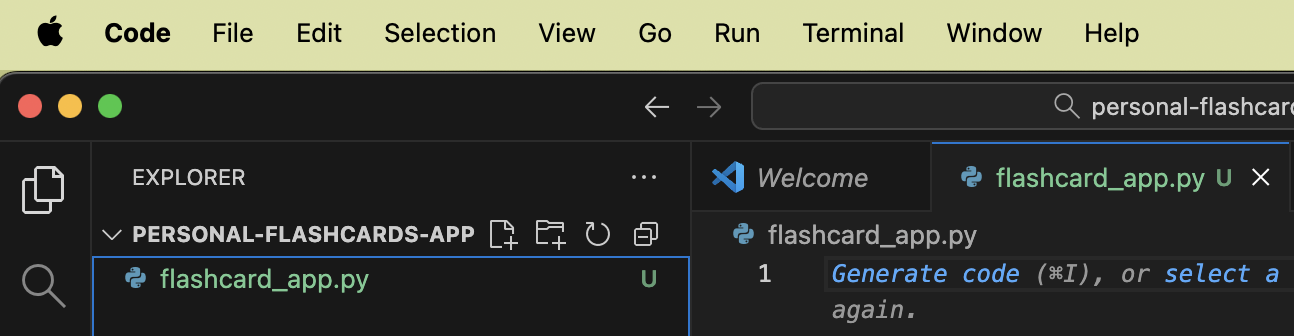
15) In VS Code, you should see your project folder in the Explorer panel (if you don’t, check you are in the Explorer by clicking on the top left hand menu icon). At the moment the folder should be empty so there won’t be anything displayed in the panel. Either use the new file icon at the top of the explorer
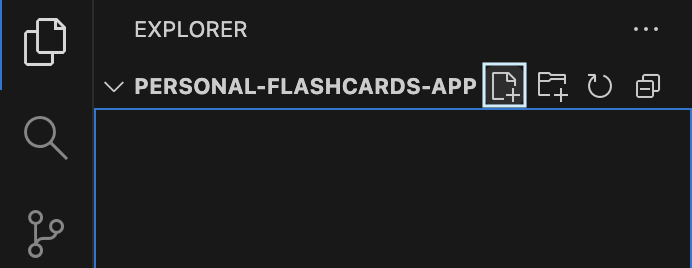
or right-click in the empty space and select “New File”.
16) Name the file flashcard_app.py (or something else if you prefer)
17) Double-click to open the file and add this code:
print("Hello!")
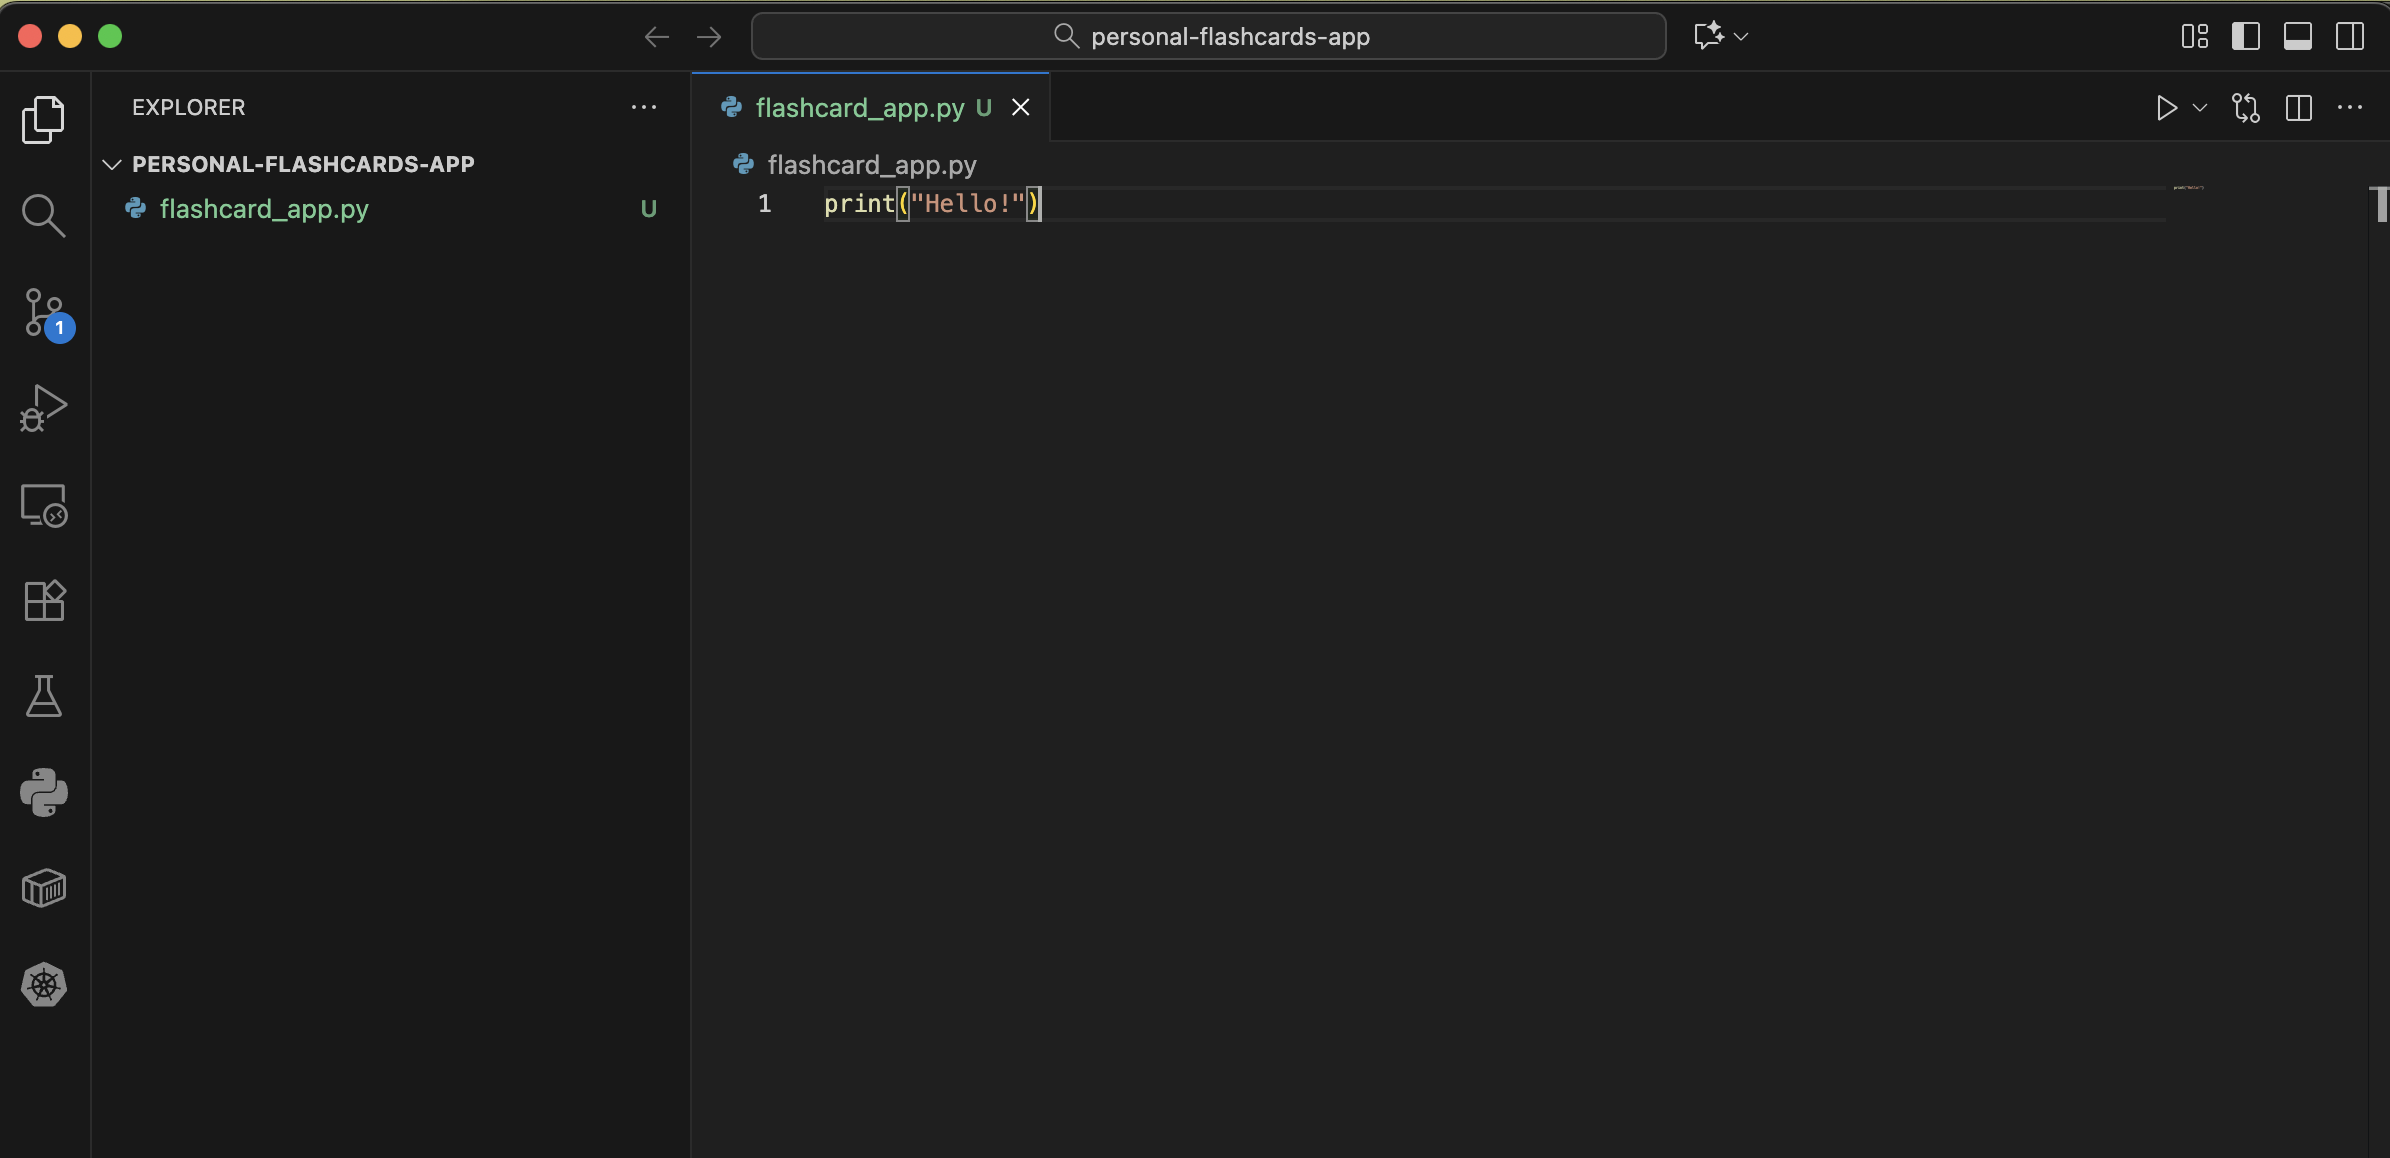
18) Save the file by pressing [Ctrl+S] (Windows) or [Cmd+S] (Mac)
Run your code in the VS Code terminal
📖 The terminal is a tool (often a black/grey/white box with a text cursor) that lets you interact with your computer by typing instructions instead of clicking on menus with a mouse. You might think of it as sending text messages to your computer get it to do things for you.
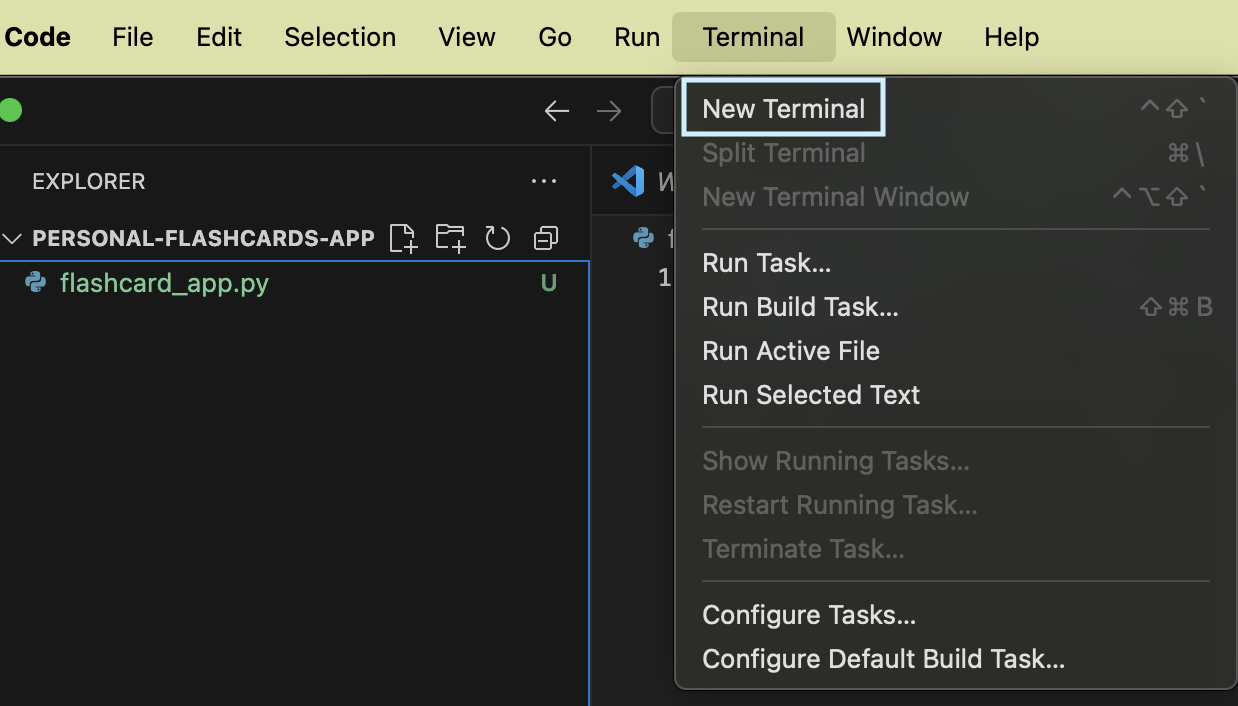
19) Open the terminal by clicking [Terminal] -> [New Terminal] from the top menu.
At the bottom of your VS Code window, you should see something like:
personal-teaching-app $
But depending on your operating system and settings, it could also look like:
Windows command line:
C:\Users\YourName\Documents\personal-teaching-app>
Windows power shell:
PS C:\Users\YourName\Documents\personal-teaching-app>
Mac bash:
YourName@ComputerName personal-teaching-app %
or
YourName@ComputerName personal-teaching-app $
In this course, the terminal will simply be represented by the $ symbol:
$
The terminal is inside your project folder, so any files you create here will be saved into your project.
20) Run your Python script by typing the following in the terminal (make sure you use the precise spelling and case of python and your filename, and leave a space between them):
$ python flashcard_app.py
You should see:
Hello!
Save your work to GitHub
21) In the terminal, check what files have changed with the command:
$ git status
You should see that
flashcard_app.pyis listed as an “untracked file”
On branch main
No commits yet
Untracked files:
    (use "git add <file>..." to include in what will be committed)
        flashcard_app.py
nothing added to commit but untracked files present (use "git add" to track)
Then in steps 22) to 26) you will go through the standard Git workflow to save your work to github, e.g.
22) Add your file to be tracked:
$ git add flashcard_app.py
23) Commit your changes with a descriptive message:
$ git commit -m "Add my first Python greeting script"
25) Push your changes to GitHub:
$ git push
You should see something like:
Enumerating objects: 3, done.
Counting objects: 100% (3/3), done.
Writing objects: 100% (3/3), 255 bytes | 255.00 KiB/s, done.
Total 3 (delta 0), reused 0 (delta 0), pack-reused 0
To https://github.com/pythonfromzero/personal-flashcards-app.git
 * [new branch]      main -> main
26) Go back to your repository on GitHub and refresh the page. You should now see your flashcard_app.py file there.

📖 Git workflow basics:
- Stage the files you want to save:
git add file1.py(specific file) orgit add .(all the files in the folder) - Commit a snapshot of your changes with a message:
git commit -m "Your message" - Push (upload) your commits to GitHub:
git push
This is the core workflow you’ll use every time you have done a meaningful unit of work that you want to make sure you save and checkpoint in your repository.
Customize your greeting
Having made your first commit and pushed your code to GitHub, you will need to repeat this workflow after customising your welcome message.
27) Edit the flashcard_app.py file to display your own personal message, e.g.:
print("Welcome to my learning app!")
28) Save the file and run it again using the terminal command:
$ python flashcard_app.py
29) Commit and push your changes:
$ git add flashcard_app.py
$ git commit -m "Personalize my greeting message"
$ git push
Troubleshooting
If you get “python: command not found”:
- Try
python3instead ofpython - Make sure Python is installed and added to PATH
If you can’t find the terminal:
- In VS Code: [View] -> [Terminal] -> [New Terminal]
If Git clone doesn’t work:
- Make sure you copied the full URL from GitHub
- Check your internet connection
All set up!
So far, you have:
- Created your own GitHub repository
- Cloned it to your computer for local development
- Written your first Python script
- Learned the basic Git workflow (add, commit, push)
- Saved your work to GitHub
Before getting stuck into programming, you might like to read about using AI as a Learning Companion and get more familiar with the basic terminal commands.
Now you are ready to START LEARNING